Home
Impressum
Miete mich
Gästebuch
PICs
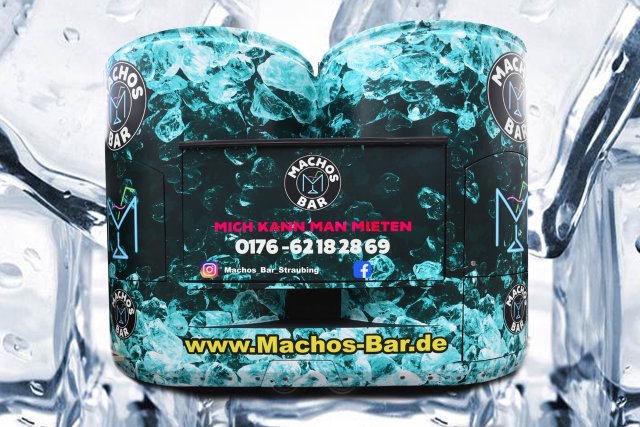
(0176) 62 18 28 69
info@machos-bar.de
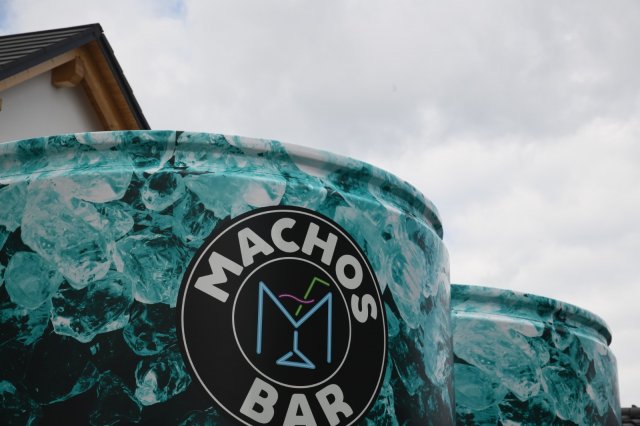
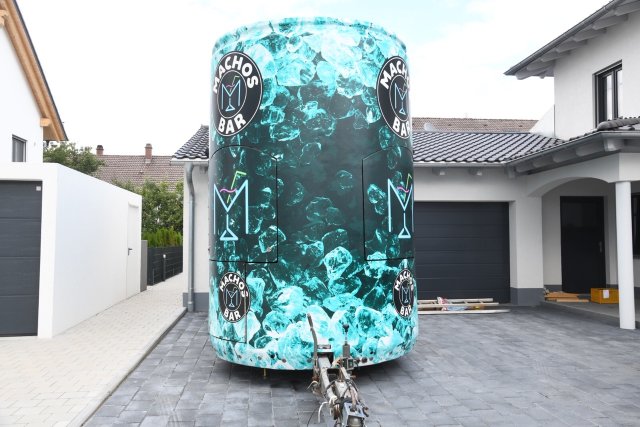
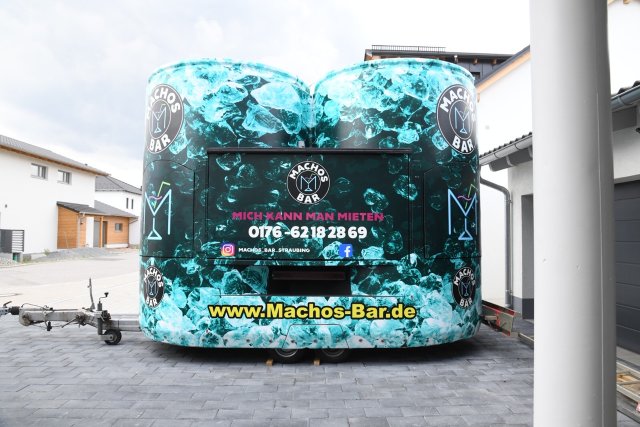
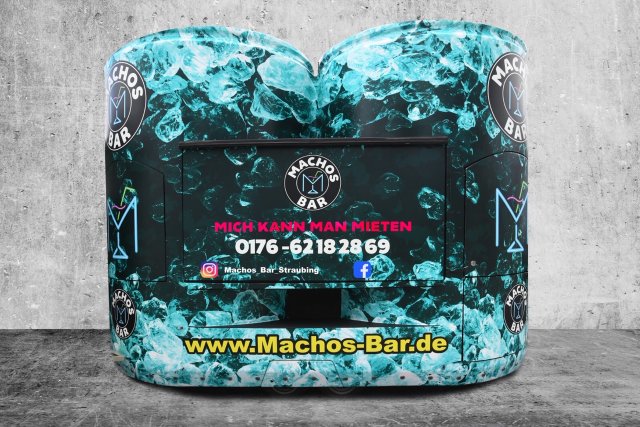
M A C H O S B A R
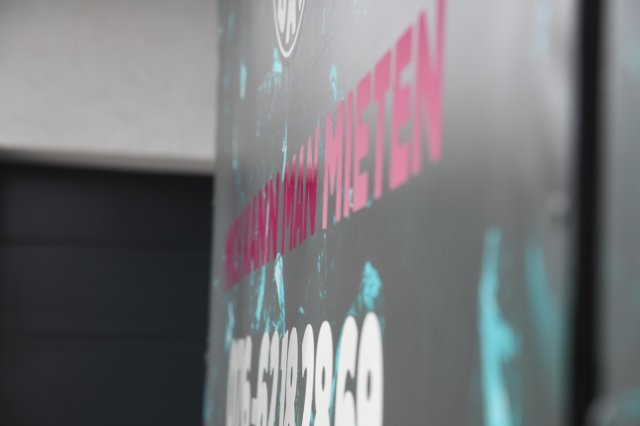
mich kann man mieten
Home
Impressum
Miete mich
Gästebuch
PICs
M A C H O S B A R
mich kann man mieten
Home
Impressum
Miete mich
Gästebuch
PICs
image0 2
image1
image2
image3
image4
image5
image6
Reihenfolge
Sortierung aufsteigend
Sortierung absteigend
Titel aufsteigend
Titel absteigend
Datum aufsteigend
Datum absteigend
Bewertungsanzahl aufsteigend
Bewertungsanzahl absteigend
Bewertung aufsteigend
Bewertung absteigend
Zugriffe aufsteigend
Zugriffe absteigend
Nummer anzeigen
5
10
15
20
50
Alle
Powered by
Phoca Gallery
+++
EVENTS
+++
PARTYS
+++
GEBURTSTAGE
+++
HOCHZEITEN
+++
SEKTEMPFANG
+++
PRIVAT
+++
GESCHÄFTLICH
+++